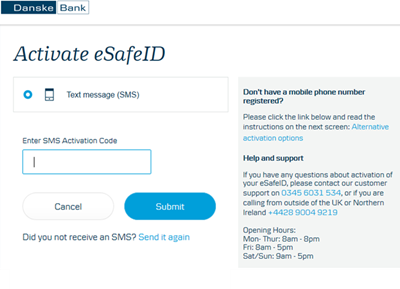
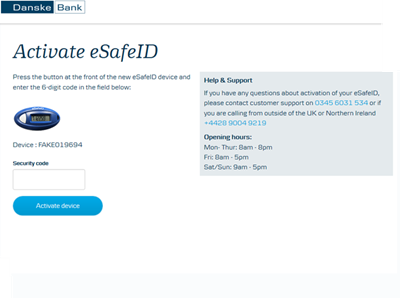
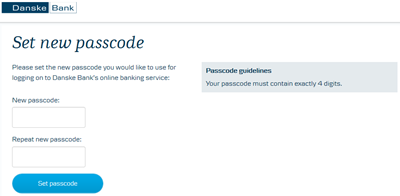
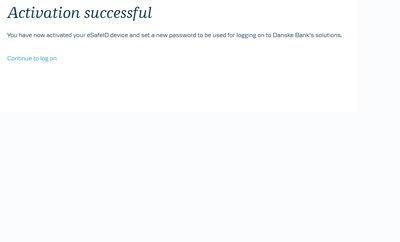
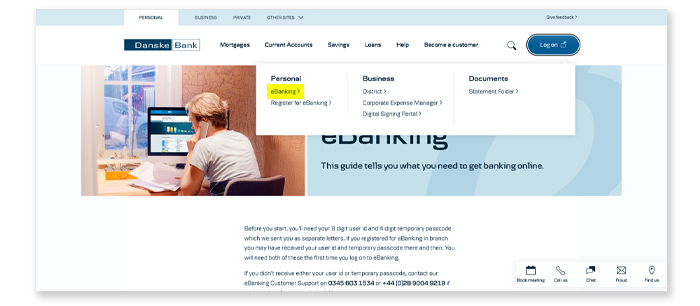
Step 1: On our website, click the 'Log on' button in the top right hand side of the screen, then select 'eBanking':
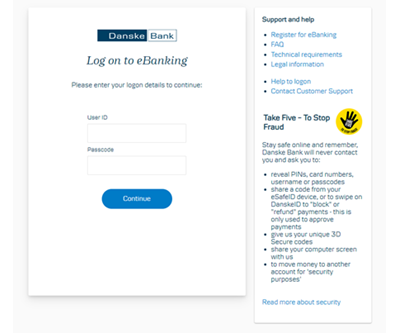
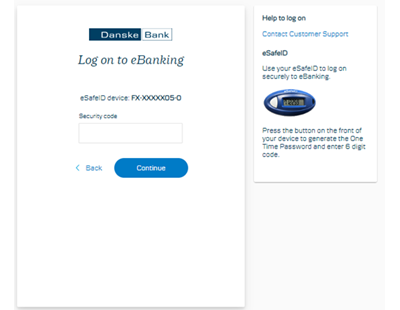
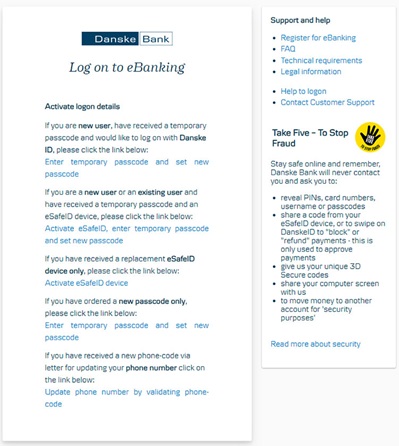
Step 2: Enter your 8 digit user ID and enter the 4 digit temporary passcode into the ‘Passcode’ field. Click Continue. You will be redirected to the following screen, where you should select the top link for Danske ID:
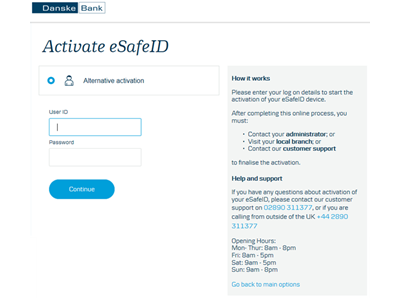
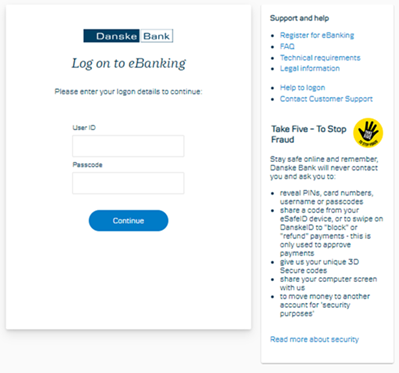
Step 3: Enter your User ID and temporary passcode into the fields provided and click ‘Continue’:
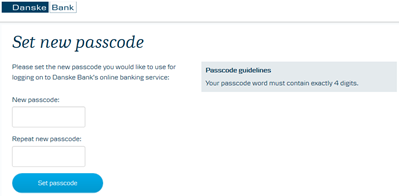
Step 4: Choose a 4 digit passcode, which you will use along with your User ID to log on to eBanking in future and click ‘Set passcode’. Your passcode should be something only you know, should not be easy to guess i.e. 1234 and should not be used elsewhere.
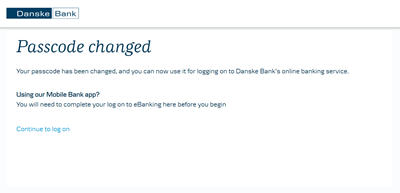
Step 5: Select ‘Continue to log on’, which will redirect you to the log on page:
You must complete the full eBanking logon process before activating Danske ID and logging on to the Mobile Banking app.
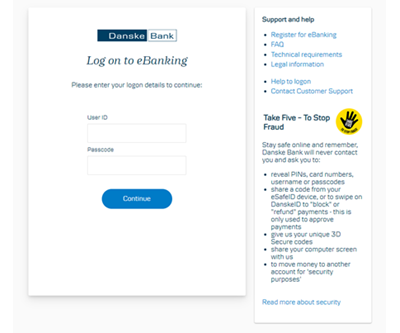
Step 6: Type your user id and the 4 digit passcode you have just created:
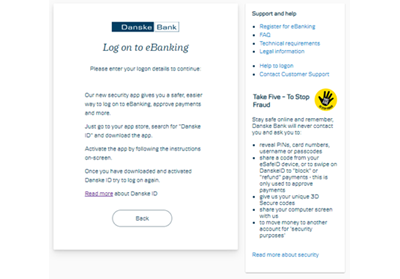
Step 7: When prompted, download and install the DanskeID app:
Step 8: Open the DanskeID app, Select ‘United Kingdom’ and press ‘Start’:

Step 9: Enter your eBanking user id and the 4 digit passcode you created during Step 4, then press continue:
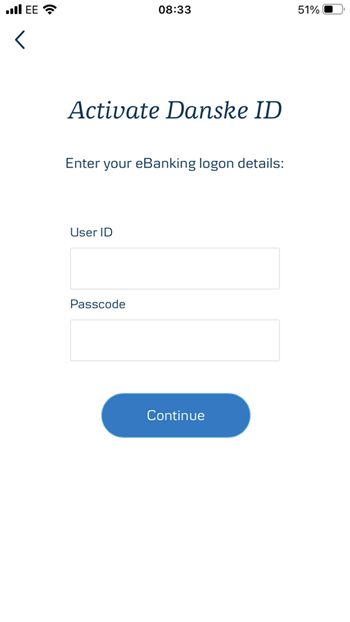
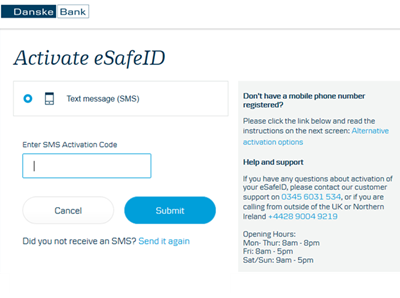
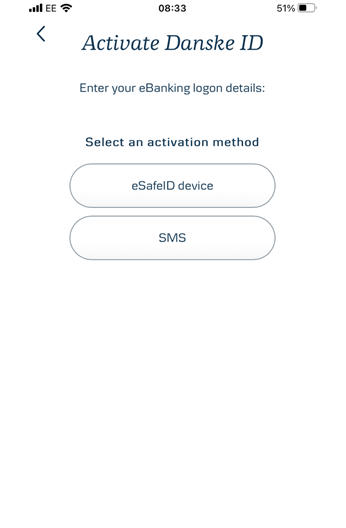
Step 10: Select activation method:
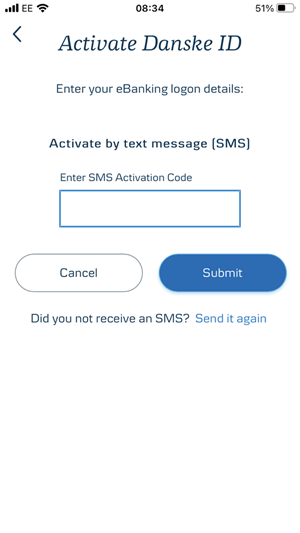
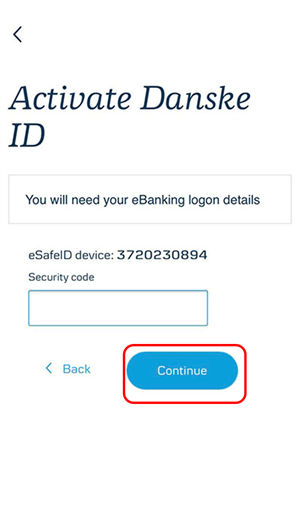
Step 11: Enter code from your chosen method:
Step 12: Set up a PIN code for Danske ID (use a different 4 digit code than used for your eBanking passcode):
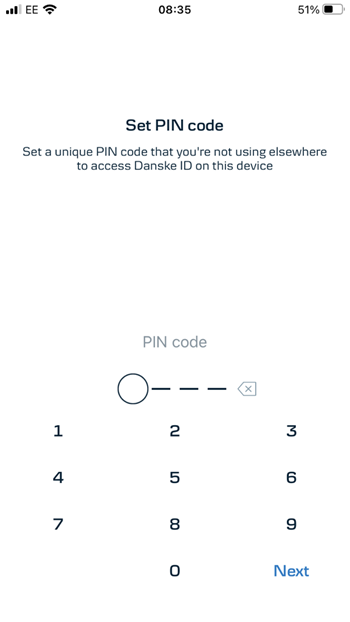
Step 13: Add Biometric logon if available (fingerprint or facial recognition, which means you won't have to enter your PIN each time you log on):
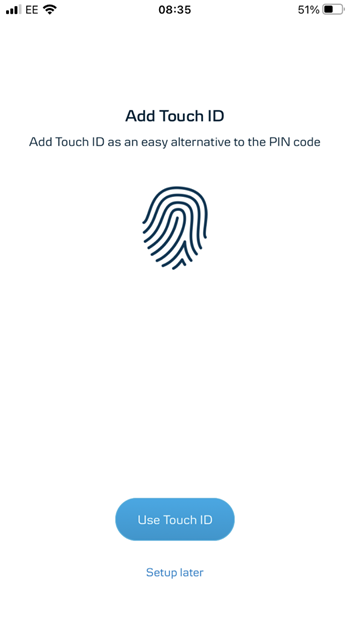
Step 14: Activation successful – Go back to your computer and click ‘Continue’:
This is what you will see within your Danske ID app

This is what you'll see in your browser regarding eBanking

Step 15: Click ‘Send’ on this screen, which will send a request to the mobile you’ve set up DanskeID on:

Step 16: Go to your phone, unlock Danske ID, and swipe to approve your logon:
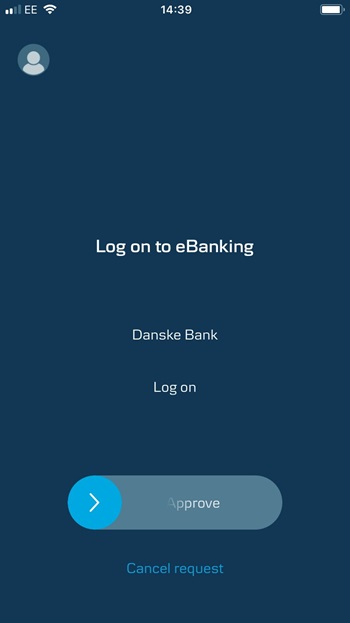
You're now logged on!
